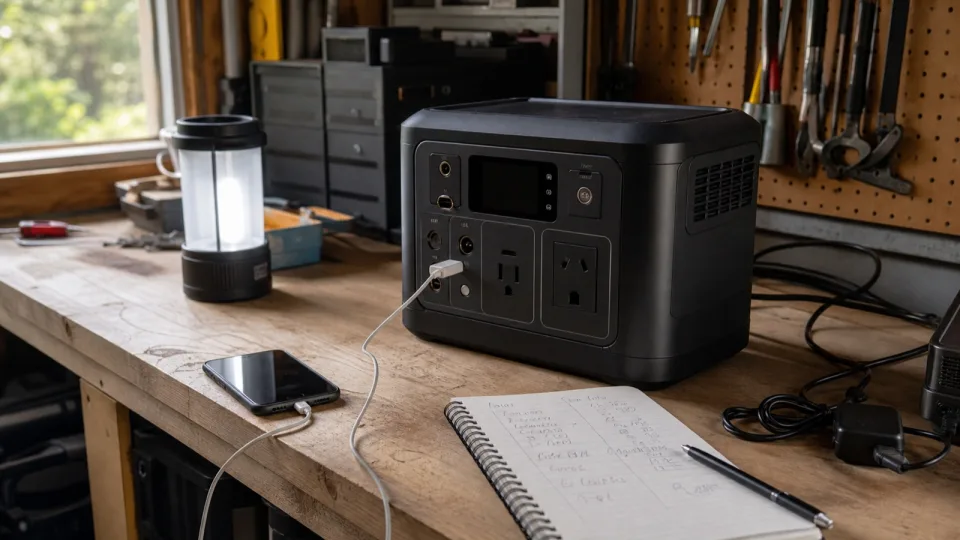
For eight hours of Starlink alone, a useful first-pass range is 200-400Wh for Mini, 500-750Wh for Standard Actuated, 750-1,000Wh for Standard 4/4 X, and 1,100-1,500Wh for Performance, assuming 80% of the power station’s listed capacity is usable. Add any separate router, mesh node, or switch, then size from the upper end if uptime matters.
Those ranges come from Starlink’s current published average power ranges and the formula below. They are calculated capacity targets, not tested runtimes for a particular power station.
Current Starlink power ranges
Starlink’s official power-consumption support page currently lists:
| Starlink hardware | Published average AC input power | Published idle power |
|---|---|---|
| Standard Actuated | 50-75W | 20W |
| Standard 4, Standard 4 X, and Enterprise | 75-100W | 20W |
| Mini | 20-40W | 15W |
| Performance Gen 1 and Gen 2 | 110-150W | 45W |
Starlink says those figures include the Starlink terminal, Wi-Fi router, power supply, and cables. Do not add the included Starlink router a second time. Use extra watts only for separate network equipment.
The same support page says consumption varies with temperature, location, and utilization. If continuous service matters, measure the complete setup over the conditions you expect and do not plan only around the bottom of a published range.
Battery capacity by model and runtime
The calculator’s battery formula is:
Total load (W)
  = internet setup watts + extra router or Wi-Fi watts

Listed battery capacity needed (Wh)
  = total load x hours needed / usable battery fraction
At 80% usable capacity, with no extra networking load:
| Starlink hardware | 8-hour listed capacity | 24-hour listed capacity |
|---|---|---|
| Mini, 20-40W | 200-400Wh | 600-1,200Wh |
| Standard Actuated, 50-75W | 500-750Wh | 1,500-2,250Wh |
| Standard 4 / 4 X / Enterprise, 75-100W | 750-1,000Wh | 2,250-3,000Wh |
| Performance, 110-150W | 1,100-1,500Wh | 3,300-4,500Wh |
The table uses the published range endpoints. It does not include solar charging, battery aging, cold-weather derating, or extra equipment.
An additional 10W network device used for eight hours adds:
10W x 8 hours / 0.80 = 100Wh of listed battery capacityUse the calculator’s actual inputs
The Starlink power station runtime calculator asks for exactly:
- Internet setup watts
- Extra router or Wi-Fi watts
- Power station capacity in watt-hours
- Usable battery percent
- Hours needed
- Good sun hours
- Solar energy delivered
It calculates runtime, energy for the target, listed battery capacity needed, and a panel estimate for replacing that session’s energy. Good sun hours and Solar energy delivered affect the panel estimate, not battery-only runtime.
The usable-battery percentage is where you account for the reserve and conversion path you intend to use. Do not divide by a loss factor and then subtract the same loss again elsewhere. For a new setup, run several percentages to see how dependent the result is on an unverified assumption.
Measure the load when you can
For the included AC power supply, a plug-in energy meter can answer two different questions:
- Instantaneous watts: useful for checking operating load and observed peaks
- Watt-hours over a session: useful for battery capacity
Measure long enough to include startup and representative traffic, and repeat in cold or hot conditions if those matter to the use case. Divide measured watt-hours by measured hours to get average watts:
Average watts = measured watt-hours / measured hoursEnter that average as Internet setup watts. Add only separate networking equipment in Extra router or Wi-Fi watts.
Watt-hours do not prove the output can run it
Battery capacity controls approximate runtime. The station’s output path determines whether it can supply the load.
When using Starlink’s AC supply, verify:
- The station’s continuous AC output rating exceeds the complete connected load
- Observed short peaks do not trip the station
- The AC output does not shut down under a low or intermittent load
- Any energy-saving setting can be disabled if it interrupts service
- An advertised transfer or backup mode actually keeps this Starlink setup online during a utility outage
Starlink’s published values are averages, not universal startup or peak specifications. Do not create an inverter surge number by multiplying the average by an arbitrary factor. Measure it or obtain the exact hardware specification, then test the station and Starlink together before relying on them.
DC power is model-specific
The old shortcut of recommending a generic PoE injector or DC bypass for every Starlink model is not sound. Cabling, voltage, negotiation, and warranty support differ by hardware.
Starlink’s Mini specification sheet lists a 12-48V, 60W input and a 100W, 20V/5A USB Power Delivery requirement when using Starlink’s USB-C-to-barrel-jack accessory. Starlink’s Mini power-support page also says the Mini will not work with USB PD ratings below 65W and that optimal operation requires 100W PD.
That guidance applies to Mini. For Standard, Enterprise, or Performance hardware, use the supplied power system or a power method explicitly documented for that exact kit. Do not assume an unofficial DC or PoE conversion has a fixed efficiency benefit or the required protection.
Choose a practical capacity
Use this order:
- Identify the exact Starlink hardware.
- Measure average session energy if possible; otherwise use the current official range.
- Add separate network equipment once.
- Choose the runtime that actually matters.
- Select and state a usable-battery percentage.
- Calculate listed Wh, then compare real station capacities above that number.
- Verify output behavior and run an unplugged test for the full target time.
If solar is part of the plan, size it from the energy consumed rather than from the battery label alone. The Starlink solar panel sizing guide covers that calculation, and the outage backup load planner can add lights, phones, refrigeration, and other loads that share the same station.